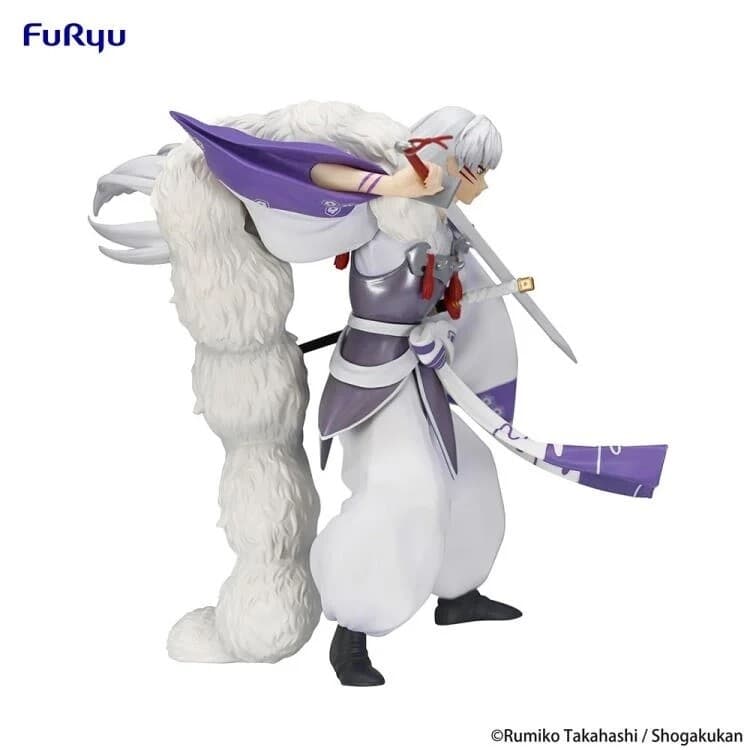
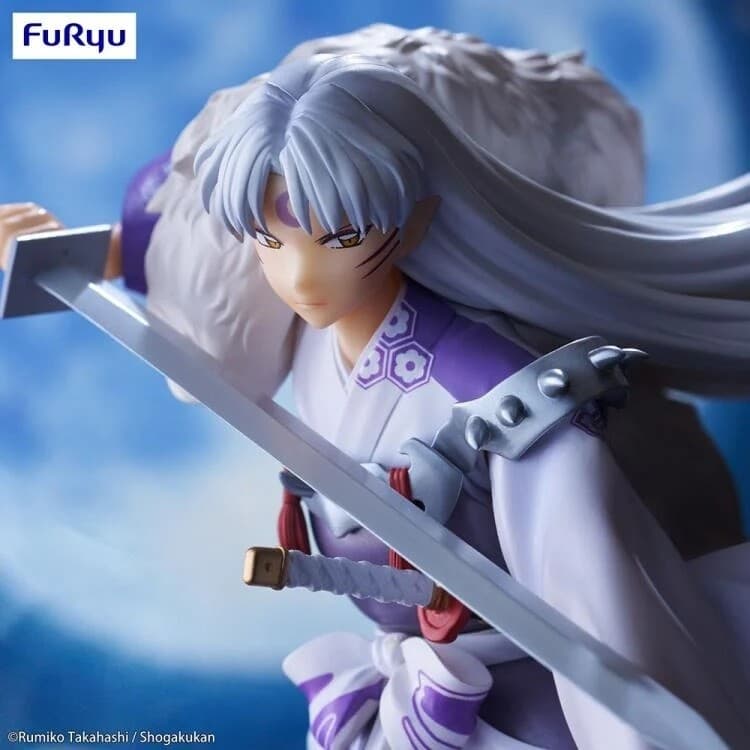
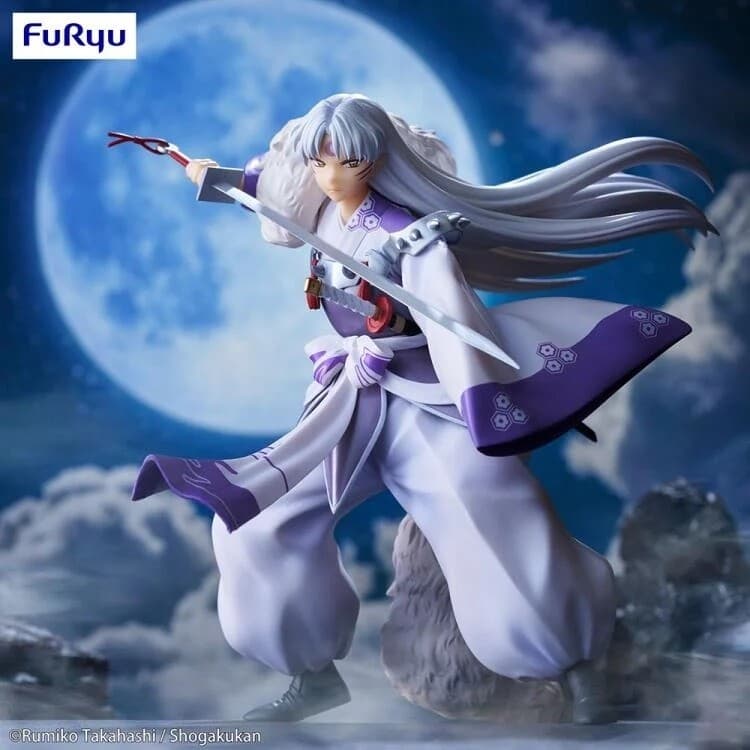
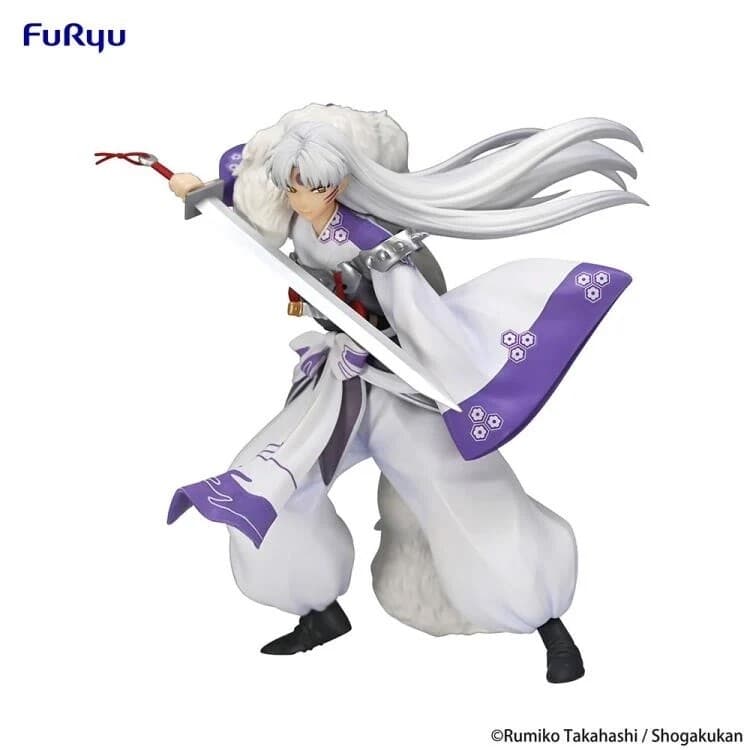
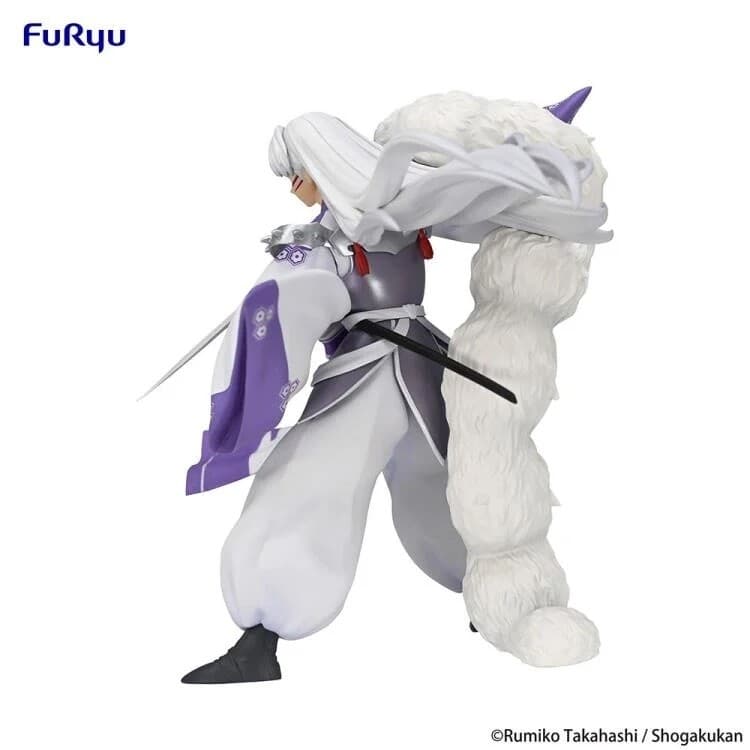
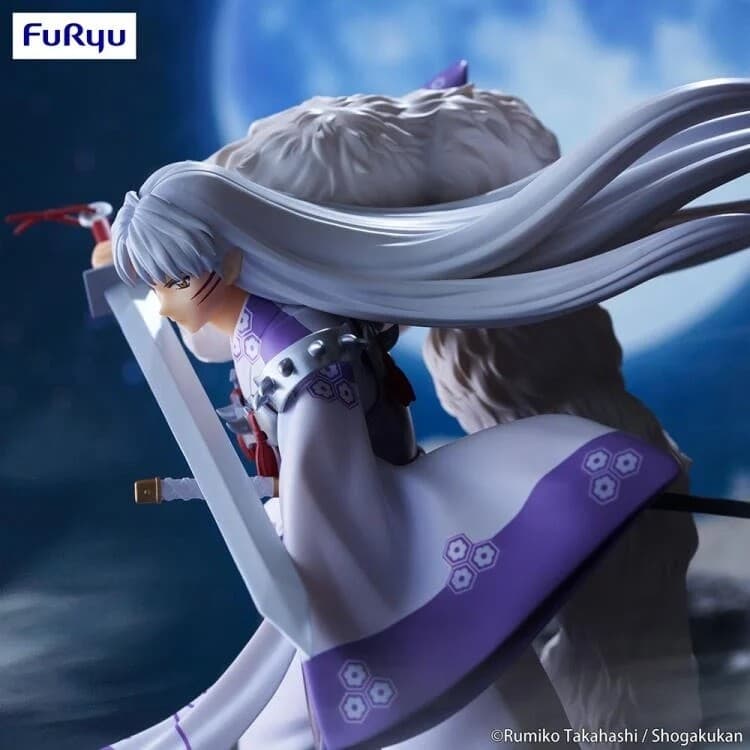
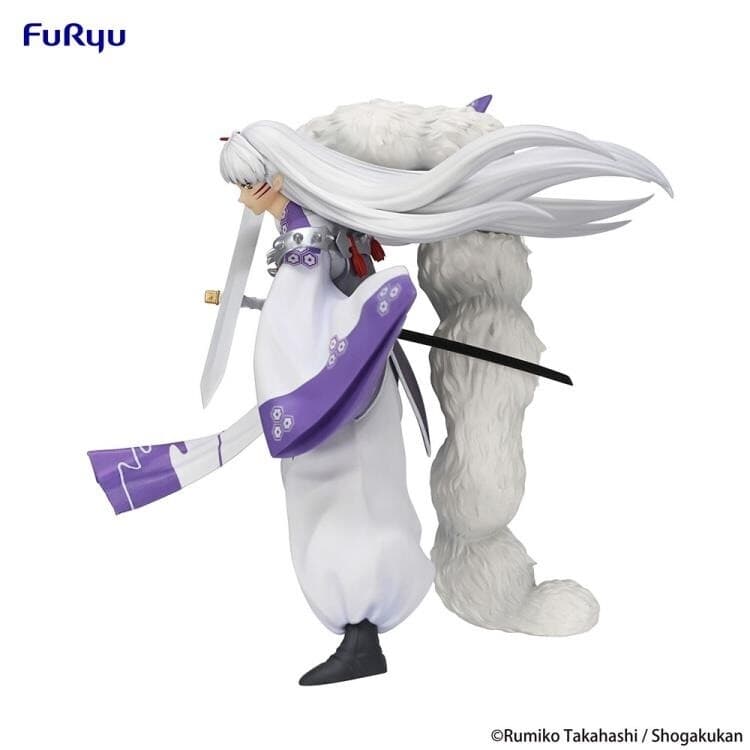
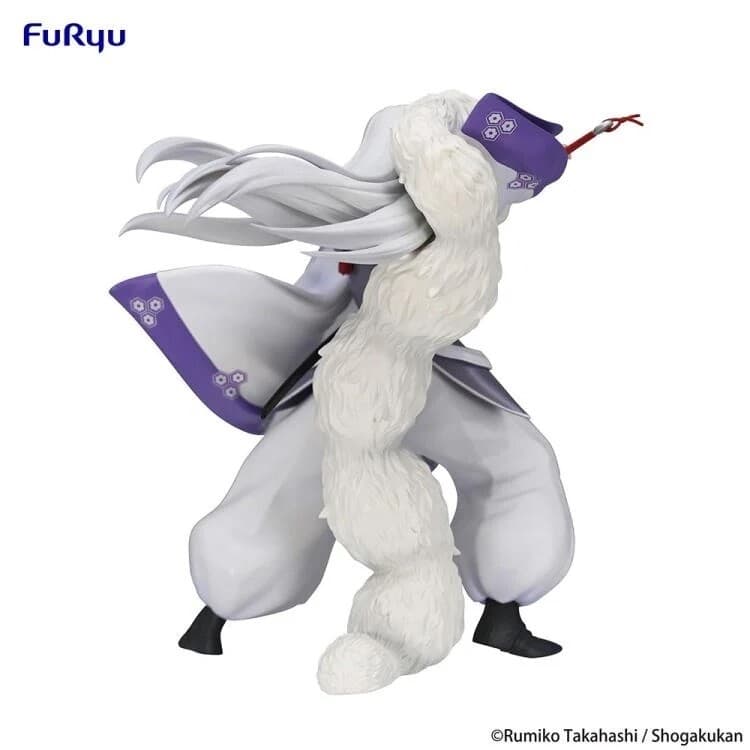
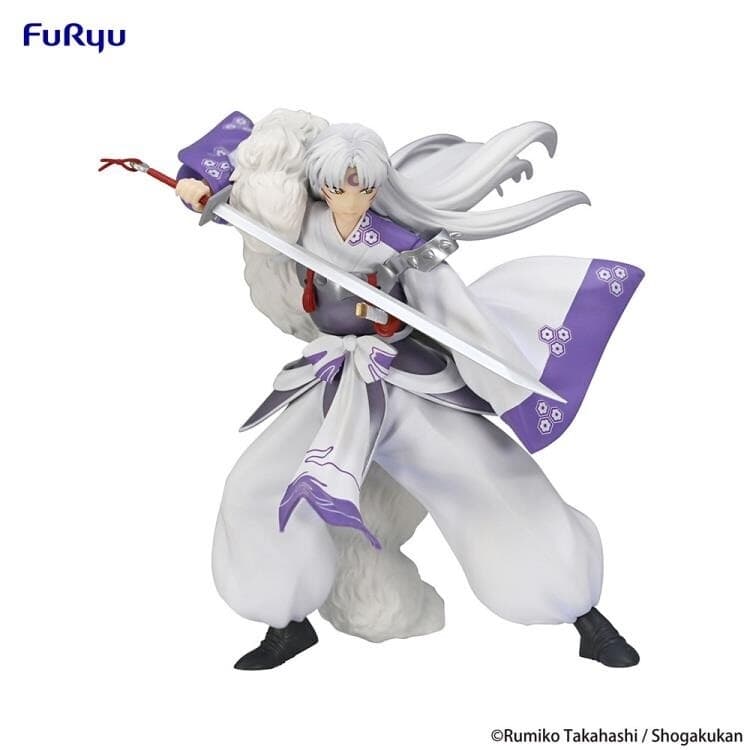
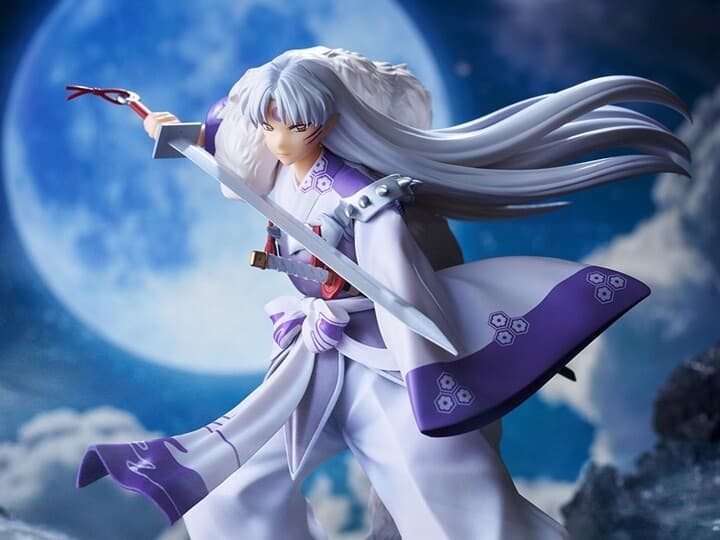
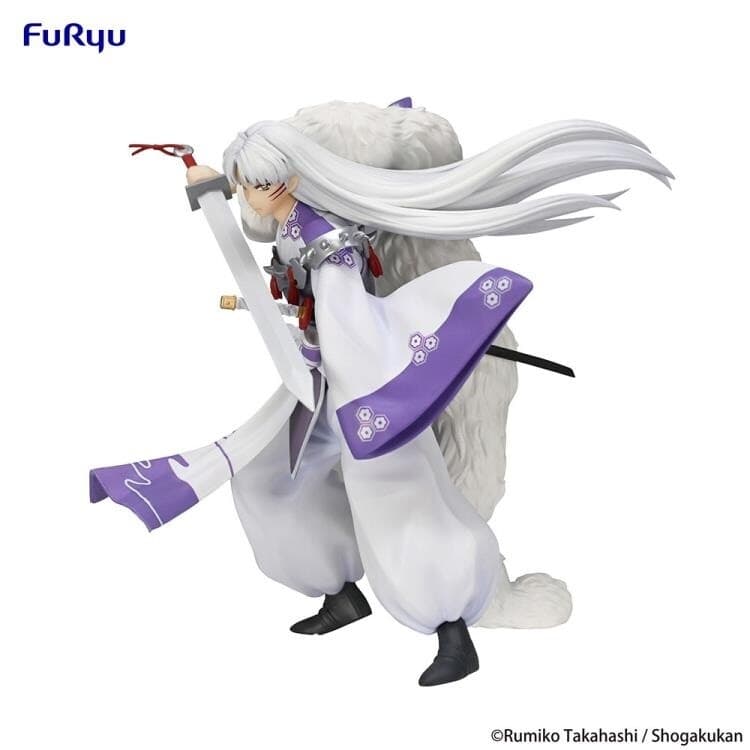
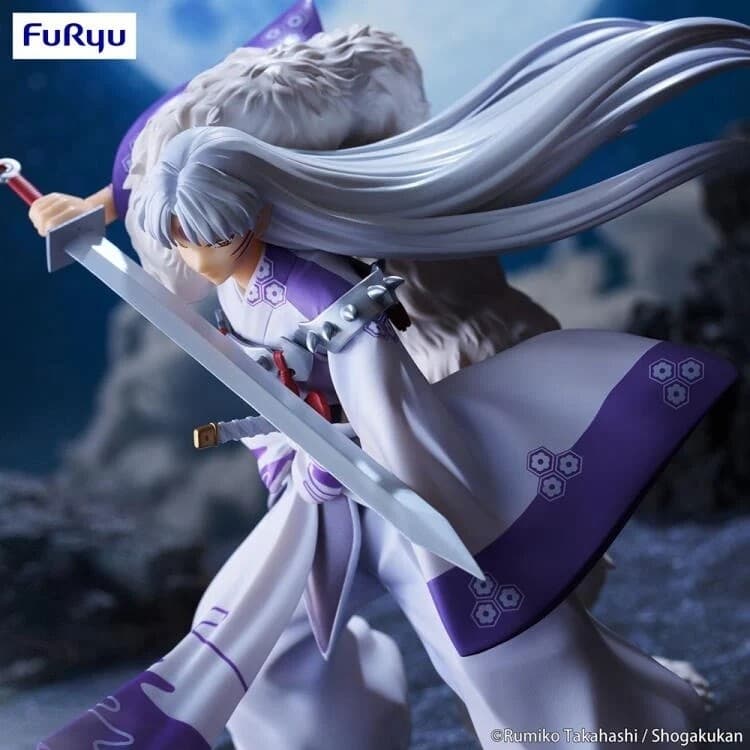
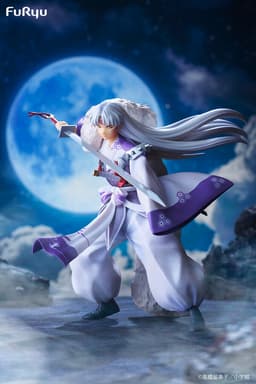
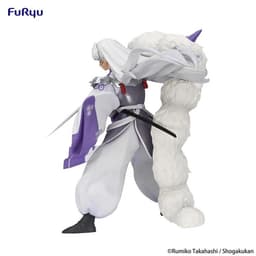
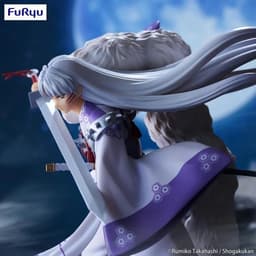
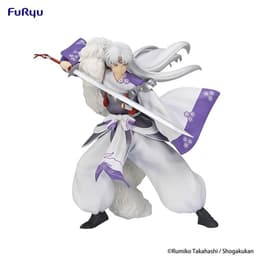
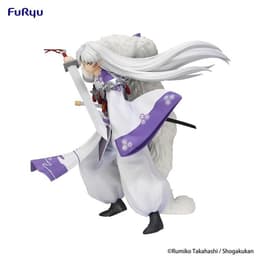
Sengoku Otogizoushi: InuYasha - Sesshoumaru - Trio-Try-iT Figure
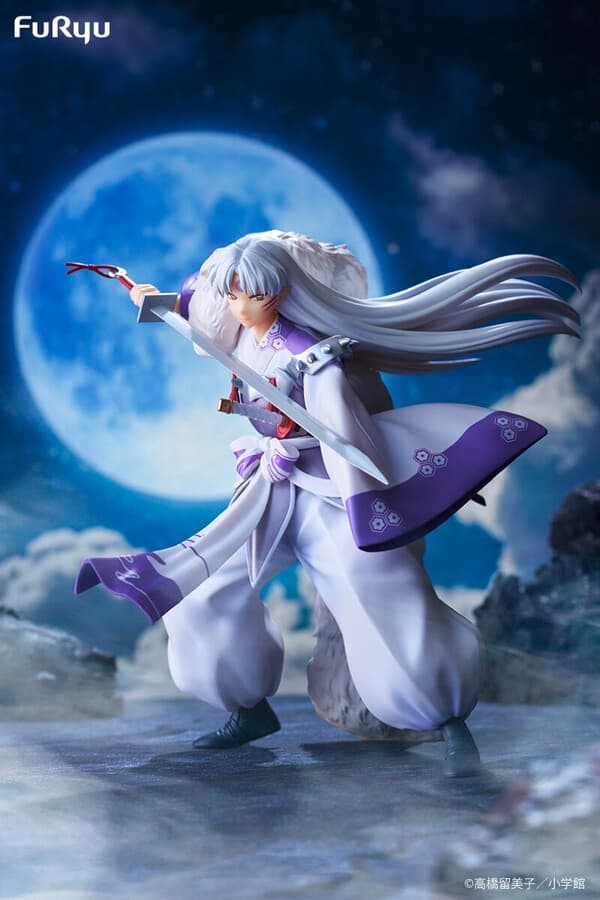
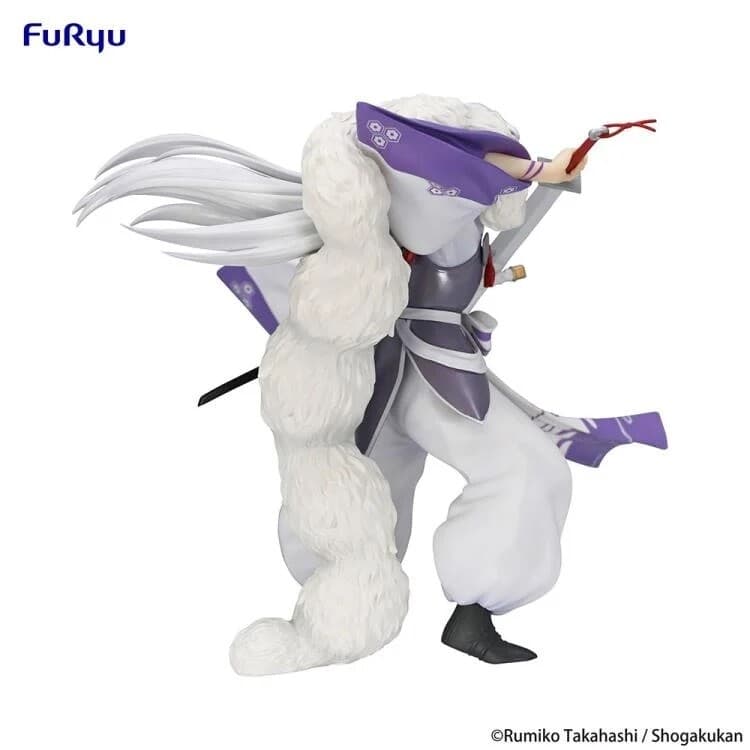
Sengoku Otogizoushi: InuYasha - Sesshoumaru - Trio-Try-iT Figure
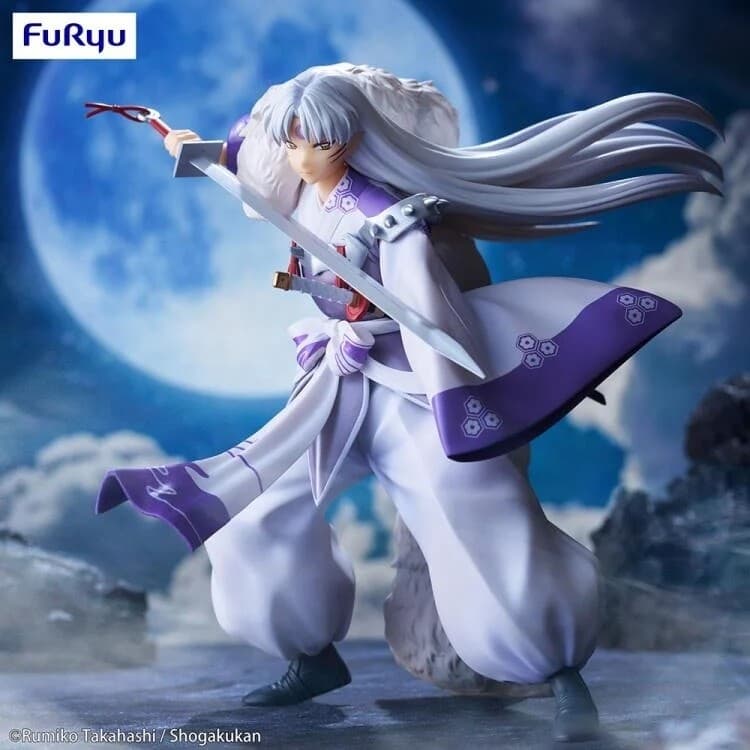
Sengoku Otogizoushi: InuYasha - Sesshoumaru - Trio-Try-iT Figure, view 1 of 15
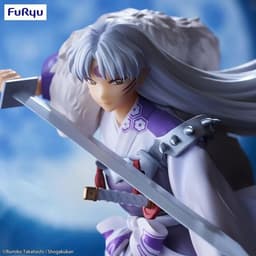
Sengoku Otogizoushi: InuYasha - Sesshoumaru - Trio-Try-iT Figure, view 2 of 15
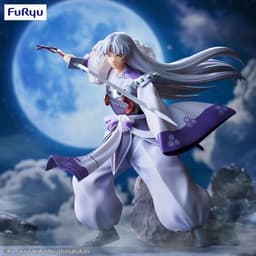
Sengoku Otogizoushi: InuYasha - Sesshoumaru - Trio-Try-iT Figure, view 3 of 15
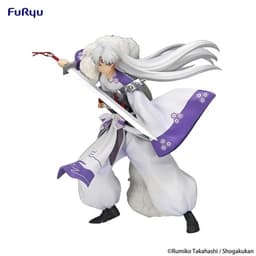
Sengoku Otogizoushi: InuYasha - Sesshoumaru - Trio-Try-iT Figure, view 4 of 15
Sengoku Otogizoushi: InuYasha - Sesshoumaru - Trio-Try-iT Figure, view 5 of 15
Sengoku Otogizoushi: InuYasha - Sesshoumaru - Trio-Try-iT Figure, view 6 of 15
Sengoku Otogizoushi: InuYasha - Sesshoumaru - Trio-Try-iT Figure, view 7 of 15
Sengoku Otogizoushi: InuYasha - Sesshoumaru - Trio-Try-iT Figure, view 8 of 15
Sengoku Otogizoushi: InuYasha - Sesshoumaru - Trio-Try-iT Figure, view 9 of 15
Sengoku Otogizoushi: InuYasha - Sesshoumaru - Trio-Try-iT Figure, view 10 of 15
Sengoku Otogizoushi: InuYasha - Sesshoumaru - Trio-Try-iT Figure, view 11 of 15
Sengoku Otogizoushi: InuYasha - Sesshoumaru - Trio-Try-iT Figure, view 12 of 15
Sengoku Otogizoushi: InuYasha - Sesshoumaru - Trio-Try-iT Figure, view 13 of 15
Sengoku Otogizoushi: InuYasha - Sesshoumaru - Trio-Try-iT Figure, view 14 of 15
Sengoku Otogizoushi: InuYasha - Sesshoumaru - Trio-Try-iT Figure, view 15 of 15
FuRyu / Shogakukan / Takahashi Rumiko
Sengoku Otogizoushi: InuYasha - Sesshoumaru - Trio-Try-iT Figure, view 1 of 15

Sengoku Otogizoushi: InuYasha - Sesshoumaru - Trio-Try-iT Figure, view 2 of 15

Sengoku Otogizoushi: InuYasha - Sesshoumaru - Trio-Try-iT Figure, view 3 of 15

Sengoku Otogizoushi: InuYasha - Sesshoumaru - Trio-Try-iT Figure, view 4 of 15

Sengoku Otogizoushi: InuYasha - Sesshoumaru - Trio-Try-iT Figure, view 5 of 15

Sengoku Otogizoushi: InuYasha - Sesshoumaru - Trio-Try-iT Figure, view 6 of 15

Sengoku Otogizoushi: InuYasha - Sesshoumaru - Trio-Try-iT Figure, view 7 of 15

Sengoku Otogizoushi: InuYasha - Sesshoumaru - Trio-Try-iT Figure, view 8 of 15

Sengoku Otogizoushi: InuYasha - Sesshoumaru - Trio-Try-iT Figure, view 9 of 15

Sengoku Otogizoushi: InuYasha - Sesshoumaru - Trio-Try-iT Figure, view 10 of 15

Sengoku Otogizoushi: InuYasha - Sesshoumaru - Trio-Try-iT Figure, view 11 of 15

Sengoku Otogizoushi: InuYasha - Sesshoumaru - Trio-Try-iT Figure, view 12 of 15

Sengoku Otogizoushi: InuYasha - Sesshoumaru - Trio-Try-iT Figure, view 13 of 15

Sengoku Otogizoushi: InuYasha - Sesshoumaru - Trio-Try-iT Figure, view 14 of 15

Sengoku Otogizoushi: InuYasha - Sesshoumaru - Trio-Try-iT Figure, view 15 of 15

Quick collection actions

Figure overview

Key collection stats at a glance.

Figure stats

Views

10

Likes

0

Wish

2

Owned

0

Rating

Release date

May 1, 2024

Price breakdown & trend

Follow the resale curve, compare yearly changes, and jump to live store listings.

Market snapshot

Min

+17.4%
¥4,545

Avg

-5.6%
¥4,757

Max

-31.9%
¥4,969

Price comparison over time

Yearly price history

YearMin PriceAvg PriceMax Price
20264,298 ¥ (+17.4%)4,575 ¥ (-5.6%)4,906 ¥ (-31.9%)
20253,660 ¥ 4,845 ¥ 7,204 ¥

Looking to get this figure?

Best price right now

¥4,465at Animota-5% vs market

5% below the market average of ¥4,686

2 of 3 shops have it in stock

Prices last updated on Jun 21, 2026

Your price alert

Set your target and get notified when a listing reaches it.

Alert setup

Get notified as soon as the figure drops to your desired price.

Choose your target and optionally include pre-owned offers.

Product specs

Origin series
InuYasha series artworkInuYasha
Brand
FuRyu
Materials
ABS, ATBC-PVC, PVC
Height
18 cm
Scale
Non-Scale
JAN code
4582702267098

Gallery

Browse extra product images and collector-submitted shots for this figure.

Sengoku Otogizoushi: InuYasha - Sesshoumaru - Trio-Try-iT Figure, view 1 of 14
Sengoku Otogizoushi: InuYasha - Sesshoumaru - Trio-Try-iT Figure, view 2 of 14
Sengoku Otogizoushi: InuYasha - Sesshoumaru - Trio-Try-iT Figure, view 3 of 14
Sengoku Otogizoushi: InuYasha - Sesshoumaru - Trio-Try-iT Figure, view 4 of 14
Sengoku Otogizoushi: InuYasha - Sesshoumaru - Trio-Try-iT Figure, view 5 of 14
Sengoku Otogizoushi: InuYasha - Sesshoumaru - Trio-Try-iT Figure, view 6 of 14
Sengoku Otogizoushi: InuYasha - Sesshoumaru - Trio-Try-iT Figure, view 7 of 14
Sengoku Otogizoushi: InuYasha - Sesshoumaru - Trio-Try-iT Figure, view 8 of 14
Sengoku Otogizoushi: InuYasha - Sesshoumaru - Trio-Try-iT Figure, view 9 of 14
Sengoku Otogizoushi: InuYasha - Sesshoumaru - Trio-Try-iT Figure, view 10 of 14
Sengoku Otogizoushi: InuYasha - Sesshoumaru - Trio-Try-iT Figure, view 11 of 14
Sengoku Otogizoushi: InuYasha - Sesshoumaru - Trio-Try-iT Figure, view 12 of 14
Sengoku Otogizoushi: InuYasha - Sesshoumaru - Trio-Try-iT Figure, view 13 of 14
Sengoku Otogizoushi: InuYasha - Sesshoumaru - Trio-Try-iT Figure, view 14 of 14

User review articles

Long-form impressions, photos, and ownership notes from collectors.

No review article exist for this figure

Be the first one to create an article review

And get featured !

NivixX

Recent user activity

See how other collectors are interacting with this figure.

Comments

Join the discussion around this release.

Sengoku Otogizoushi: InuYasha - Sesshoumaru - Trio-Try-iT Figure – FuRyu | MyFigureList